Search This Blog

Showing posts with label valentines. Show all posts

Sunday, February 19, 2012

Valentines Dessert: Chocolate Espresso Semifreddo

So you are craving ice cream, but you open the fridge and all that is to be found is a bag of frozen peas and a lunch box ice pack. You really want a nice, smooth, frozen treat though. You close the fridge door in defeat and opt to snack on some old store bought cookies. Well, put those cookies down and listen to what I have to share with you. Semifreddo. Aka Semifreakindelicious. This is the next best thing to ice cream, and if you have a few eggs, some cream cheese, whipping cream and chocolate you are well on your way to fulfilling your frozen dessert dreams :) The only problem with this though is that you must make it a few hours prior to eating to give it time to freeze. Waiting for it to freeze might be some of the worst or best hours of your life. Knowing what awaits your taste buds is certainly enough to make you happy but realizing how long you must wait will probably/most definitely make you unhappy. But first things first: let me share the procedures to what may seem like a very difficult dessert to make, but trust me, you can do it!

This dessert involves a lot of steps, so it will be helpful to cut, measure, soften, melt, or anything else that needs to happen to the ingredients prior to preparing it. I found myself rushing to chop chocolate and crack eggs while I was trying to whisk some whipping cream while cooking a cookie crust. Whoo. I ended up making a mistake(oops). I used egg whites where there was supposed to be egg yolks, so I ended up with more egg whites then called for. So don't feel like you must be a great baker to make this. I already messed this recipe up by adding extra egg whites, so I got you on that.  Just read the directions, and then read them again, and then once more. Maybe one more time for safe measures.
This was THE PERFECT Valentines day dessert. Smooth, rich, and chocolaty with a  strong coffee flavor and a nice crunchy cookie crust. Throw some strawberries and drizzled chocolate on top and you have something that will impress all the people you love. This might remind you of last year's Valentines dessert seeing as though it had strawberries, Kahlua, and chocolate too. I just love that combination. You can never go wrong with it. 


Chocolate Espresso Semifreddo
From: Brown Eyed Baker
Ingredients:

For the crust:

  • 1¾ cup chocolate cookie crumbs (I used chocolate cream filled Oreos)
  • 3 tablespoons unsalted butter, melted
For the semifreddo:
  • 3 ounces espresso (I used dark roast coffee)
  • 4 large eggs, separated
  • 2 tablespoons sugar
  • 1/3 cup sugar
  • 2 teaspoons vanilla extract
  • 1 tablespoon Kahlua or coffee liquor
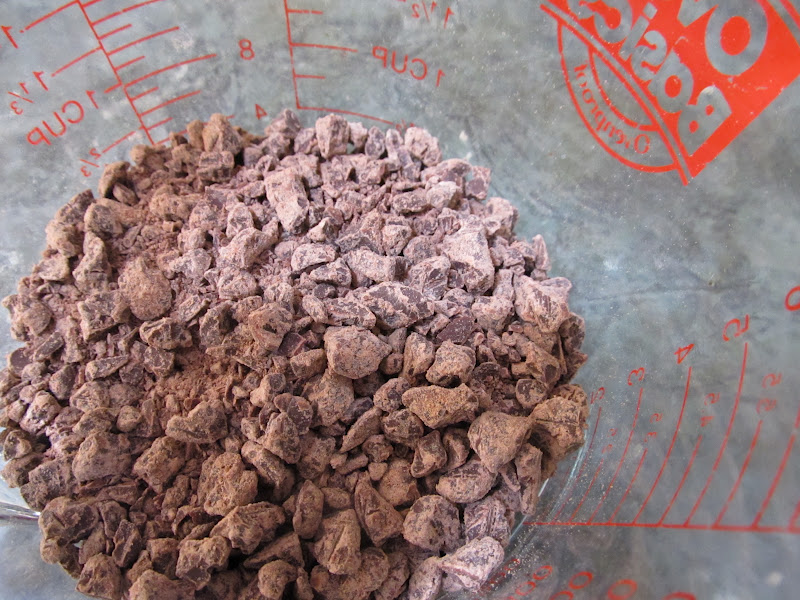
  • 4 ounces semi-sweet chocolate, finely chopped (or chocolate chips)
  • 16 ounces cream cheese or Mascarpone cheese(softened or room temp.)
  • 2 ounces heavy cream
Directions:
1. Preheat the oven to 350°F. Lightly butter the bottom and sides of a 9-inch springform pan.
2. Combine the cookie crumbs and melted butter and press into the bottom of the springform pan. Bake for 10 minutes. Set aside to cool.


3. Over a double boiler, whisk together the YOLKS (not whites) and 2 tablespoons of sugar until it is pale yellow and thick. Add espresso, Kahlua, and vanilla. 
 Separating the eggs and measuring out Kahlua and coffee.
 *This is supposed to be egg yolks in the double boiler, but I decided to be completely oblivious and add egg whites. 


4. Place over simmering water and whisk continuously and vigorously until liquid coats the back of a spoon and the mixture is thick and foamy.
 5. Remove from the heat and add the chocolate. Stir until melted and continue stirring until cooled.


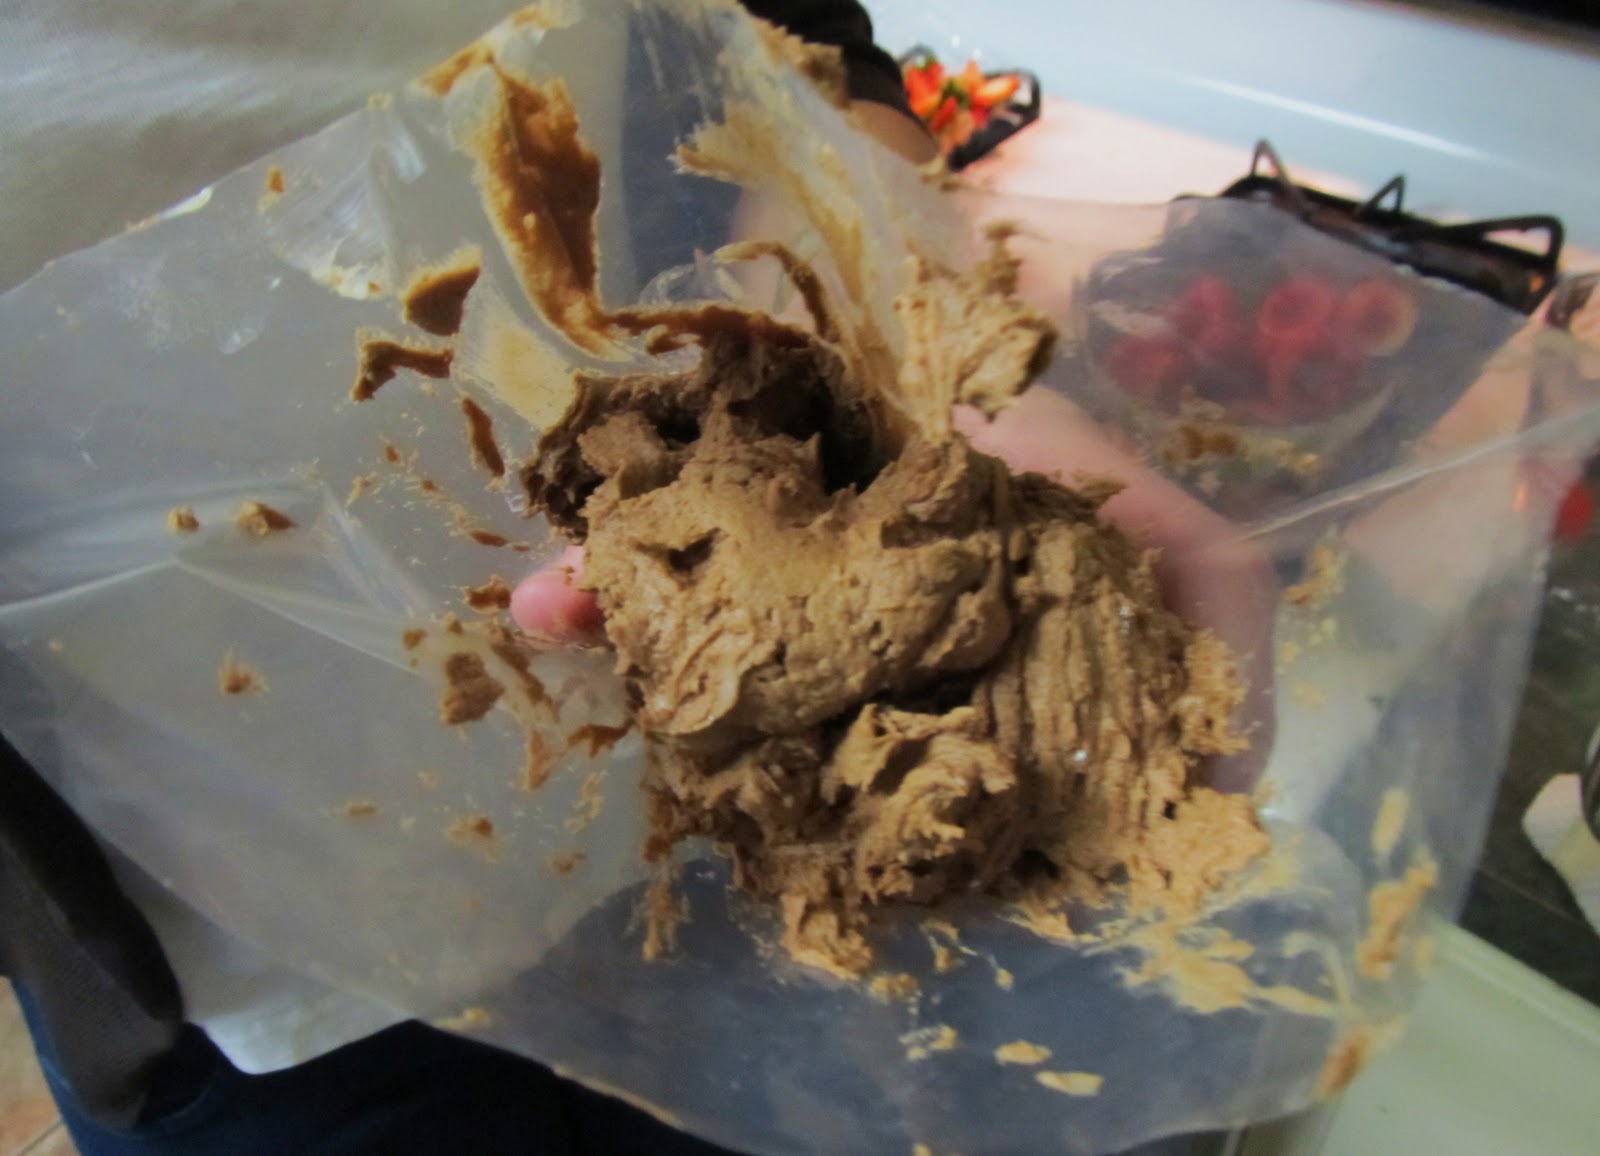
6. In a separate bowl, stir together the cream cheese and heavy cream until smooth. Do not over stir. Make sure our cream cheese is very soft so it does not become clumpy.
7. Place egg whites and 1/3 cup sugar in a mixing bowl. Whip on medium high until stiff peaks form. 
8. Fold the cream cheese mixture into the chocolate mixture until there are no streaks left.
9. Fold 1/4 of the meringue (egg white mixture) into the chocolate-cream cheese mixture. Fold in the remaining meringue in three parts. Do not overmix. 

10. Spread the mixture over the baked crust in the pan. Tightly cover with plastic wrap and freeze for at least 4 hours.
10. When ready to serve, run a warm, dry knife around the sides of the pan, then loosen and remove the sides of the pan. Decorate with a drizzle of melted chocolate and fresh berries, if desired. Serve cold and cut slices with a warm, dry knife. Store in freezer.  

-Sarah-

Wednesday, February 1, 2012

Red Velvet Cupcakes

Red velvet cake is my favorite-well, one of my favorites-cake ever, which I usually have on my birthday, but since I decide to forgo it this year on my birthday I have reallllly been wanting to make it.
So I've been trying to convince my mother to let me make it for a few weeks now. But she, being the lady who didn't want me to enjoy life by letting me make a red velvet cake or aka mom, was obstinate about me not making a red velvet cake because my little brothers cannot eat red dye. I get that. My brother Noble will go nuts when he eats red dye and if you know Noble you'll understand why we need to suppress his energy as much as possible.
Mom then tried to tell  me that I should make the cake but leave the red dye out. Her words "the red dye doesn't add any flavor" and while that might be true that would just not be prudent. Before I could even contemplate that idea, it was out. Brown velvet cake. Not the same. 
THEN she tried to get me to put blended up beet root in the cake to make it red. Okay, ew. I'm sure it would turn out great...actually, probably not. No, that would not go down well at all with me. So I finally convinced her to let me pursue the red velvet  with the red dye. My excuse? Valentines day is coming up, and I HAVE to do a red velvet cake for Valentines.  And, not to sound like a complete jerk of a big sister, since my brothers couldn't scarf down these cupcakes in a few hours because of the red dye, they actually stuck around for awhile! Please believe me when I say I didn't make my favorite cake that my little brothers happen to not be able to eat just so I could eat them for days on end! I wouldn't do that....
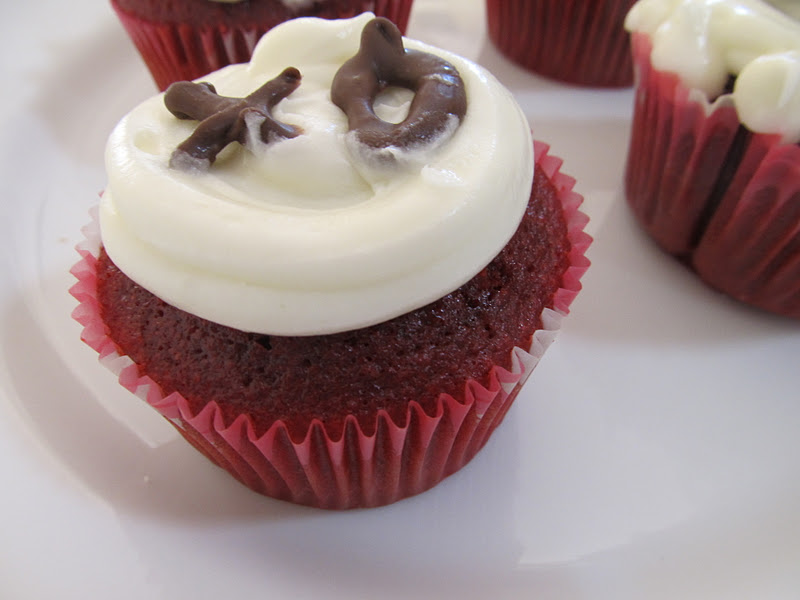
Seriously though, these rock. The cream cheese frosting complemented these extremely moist and already flavorful red velvet cupcakes perfectly. 
And then I got fancy. Real fancy. Oh, you fancy, huh? Why, yes, yes I am. I melted some chocolate almond bark, put it in a zip lock bag, and made cupcake decorations. The end result was a Valentines day dream. 


*Seeing as though this was my first time making red velvet, I was unsure as to how much red dye I should add. Some recipes called for two whole bottles..I thought that was a little overboard. I ended up using just two tablespoons and they turned out a perfect red color. My fingers also turned out a nice deep red color. 


Red Velvet Cupcake:
Ingredients:
- 2 tablespoons unsweetened cocoa powder
- 2 1/2 cups cake flour 
- 1 teaspoon salt 
- 1 1/2 cups sugar 
- 1 cup canola (or vegetable) oil 
- 2 large eggs 
- 2 tablespoons red food coloring 
- 1 teaspoon pure vanilla extract 
- 1 cup buttermilk 
- 1/2 cup hot (but not boiling) water
- 1 1/2 teaspoons baking soda 
- 2 teaspoons white vinegar


Frosting:
- 8 ounce package cream cheese, softened
- 1/2 cup (1 stick) unsalted butter, softened
- 1 teaspoon pure vanilla extract
- 4 cups powdered sugar
– 2 tablespoons heavy cream


Directions:
1. Preheat oven to 350°. Line a cupcake pan with paper liners.
2. Sift together flour, salt, and cocoa in a medium bowl; set aside.


3. Mix sugar and oil on medium speed in the bowl of an electric mixer fitted with the whisk until combined. Add eggs one at a time; mix well after each addition. Mix in food coloring and vanilla. 


4. Add flour mixture in 3 batches, alternating with the buttermilk and beginning and ending with flour, mixing well after each addition. Scrape down sides of bowl as needed. 
5. Stir together baking soda and vinegar in a small bowl. Add baking-soda mixture to batter, and mix on medium speed 10 seconds. Mix in the hot water until just combined. 


6. Pour batter into prepared liners. Bake until a cake tester inserted into centers comes out clean, 18 to 23 minutes. Let cool completely in pans on wire racks.


For Frosting:
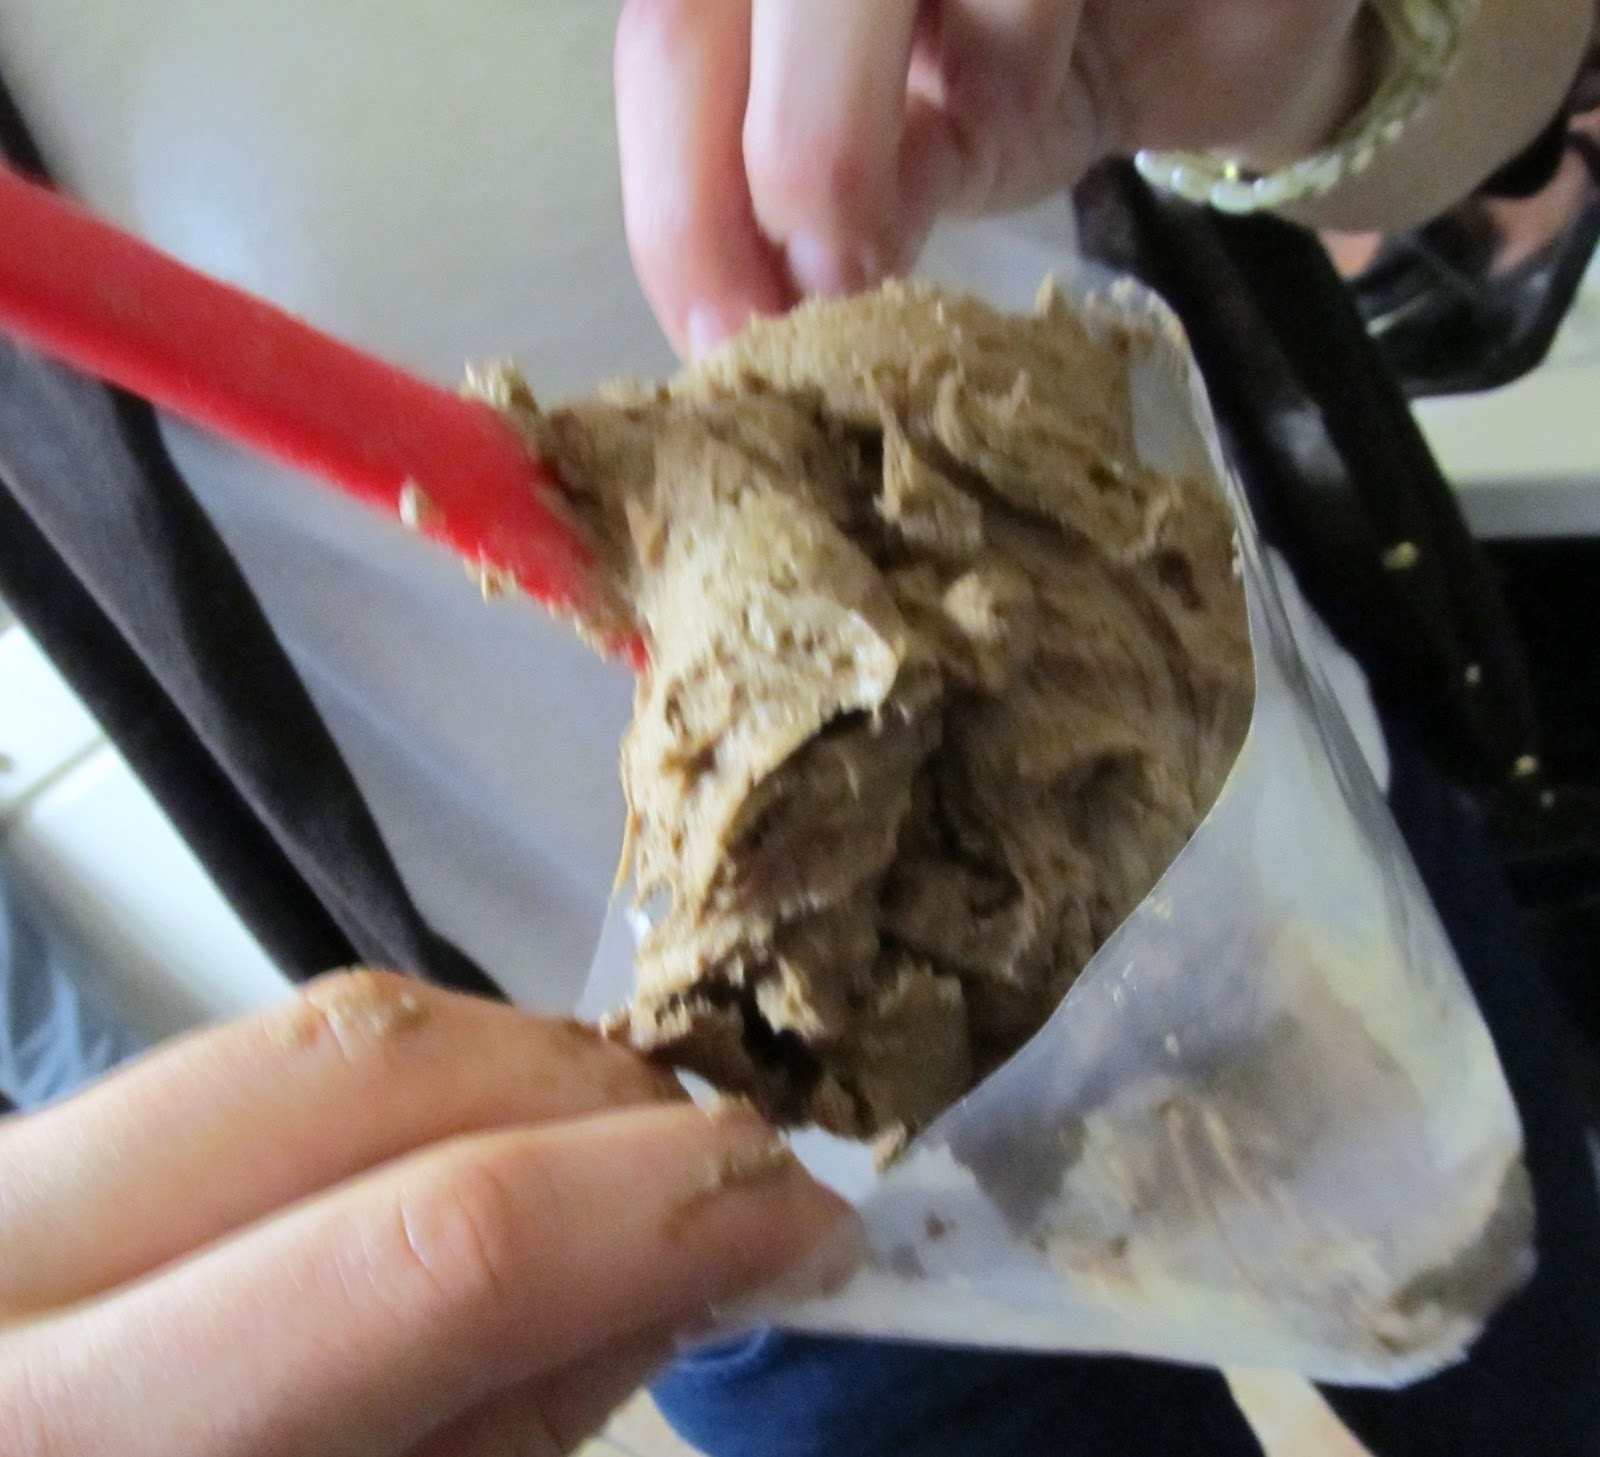
1. In a large bowl, using a mixer on medium speed, mix together the softened cream cheese, butter, and vanilla extract. 
2. Add the confectioner's sugar in batches until the frosting comes together and there are no lumps. 
3. Add whipping cream until desired consistency is reached.
4. Put in piping bag and pipe frosting onto cooled cupcakes.


Fro decorations:
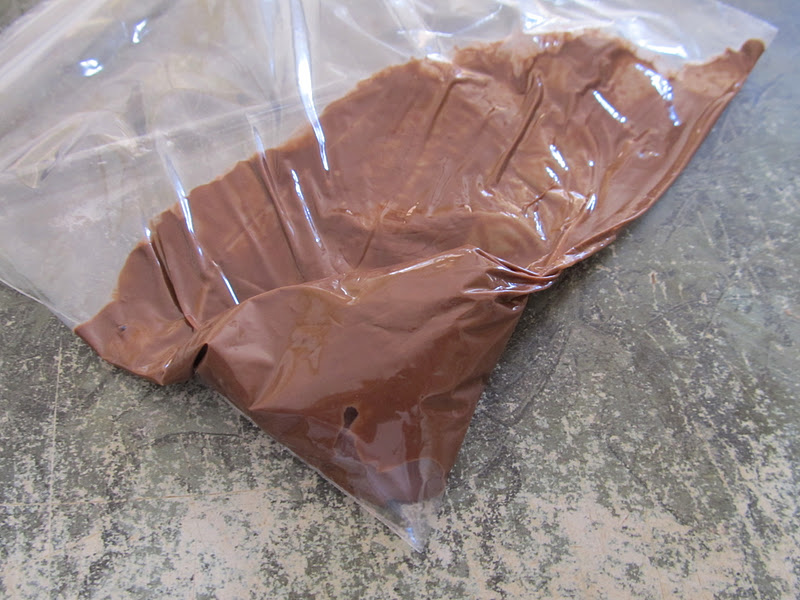
1. Put one block of almond bark (you can also use candy chocolate) in an open zip lock bag. Microwave for 30 second intervals until melted. 
2. Once melted, snip a tiny hole in the corner of the zip lock bag.
2. Now, almond bark hardens very quickly, which is why it is good for decorations but is awful when it hardens in the bag in that middle of making a decoration. So, working quickly, pipe out desired shapes onto wax paper. You will probably have to re-melt it a few times.
3. Let harden and then peel off and decorate cupcakes as you like:)

Dad's words when seeing the cupcakes: "Sarah, these look like they would be sold somewhere fancy..like Starbucks!" Starbucks....

- Sarah -


Thursday, February 17, 2011

Valentines Dessert with the Reynolds

 So one day, I luckily stumbled across this recipe on someone else's blog. it was love at first sight when I saw these cupcakes before my eyes, and I knew I had to make them for Valentines dessert.  The cupcake itself was the BEST cupcake I have ever eaten. Unlike most cupcakes, these cupcakes had so much flavor and were so rich. Although it was a lot harder to light the strawberry then i anticipated, some strawberries lit eventually. If you just want to make an amazing chocolate cupcake, then make this recipe without the strawberries and rum. You can also try the strawberries and rum, but lighting the rum was a hard task.


Ingredients for Cupcake:

- 3/4 cup unsweetened cocoa powder
- 1 1/2 cups all purpose flour
- 1 1/2 cups sugar
- 1 1/2 tsp baking soda
- 3/4 tsp baking powder
- 3/4 tsp salt
- 2 eggs
- 3/4 cup hot water
- 3/4 cup heavy cream
- 3 tbsp canola or other vegetable oil
- 2 tsp vanilla extract


 Directions for Cupcakes:

1. Preheat oven to 350 degrees.
2. Line muffin tin with cupcake papers and set aside.


3. Put the cocoa, flour, sugar, baking soda, baking powder and salt into a large bowl.


 Add eggs, water, heavy cream, oil and vanilla.


4. Divide batter among muffin cups, filling each half full.  Bake for 20 minutes.  Let cool before frosting.


Ingredients for Frosting:

-2 sticks softened butter
- 4 cups confectioners' sugar
- 4 tbsp unsweetened cocoa powder, sifted

- Heavy Cream

Directions for Frosting:

1. In the bowl of mixer fitted with whisk attachment, cream together sugar, cocoa and butter; beginning on low speed then increase to high. Add Heavy cream, a little at a time, until frosting becomes thinner. 

2. Beat until fluffy and lightened in color.  Transfer mixture to a piping bag fitted with a decorative tip.  


3. Frost cupcakes.


Strawberries:

8-24 Strawberries(you'll need as many as you have cupcakes)
- Vodka, rum, or your choice of liquor 80 proof or higher (over-proof such as 110 will give you a yellow flame)


Directions:

1. Hollow the strawberries carefully.  If you pierce the side of the strawberry accidentally, start with a new one.  Since you'll be setting the liquor aflame, it is important that the strawberry is leak-proof.


2. Set one strawberry atop each frosted cupcake.  


 3. Fill strawberries with liquor just before lighting.


It took us awhile to light the strawberries, but they are super cool when they light!