Search This Blog

Showing posts with label sweets. Show all posts

Wednesday, September 1, 2010

Girls ♥ Pie. Duh.


Pie's are arguably one of the greatest inventions of all time. They are American, classic, delicious and great with Vanilla Ice Cream- could you ask for anything more?


I (Elizabeth) went out of town last Saturday and came home to this:

Is my life the bomb or what? My sweet Sis made it for me! That doll! 

Here's the recipe for Sarah's Dutch Apple Pie:

Crust:
-1 cup flour
-1/2 teaspoon of salt
-1/2 cup of cold butter
-3 tablespoons of water

Filling:
- 6 cups peeled and sliced apples (about 8 apples)
- 1 cup of sugar
- 2 tablespoon flour
- 1/2 teaspoon ground cinnamon
- 1 tablespoon lemon juice
- 2 tablespoons butter

Topping:
- 1 1/2 cups flour
- 1 cup firmly packed brown sugar
- 1 1/2 teaspoons ground cinnamon
- 3/4 cup butter


Directions for the Crust:

 1.Preheat oven to 375. Stir together flour and salt in a large bowl. Add butter and cut in with 2 forks until the mixture is crumbly.


2. Add water and blend gently until the dough holds together.


3. Roll the dough into a circle about 2 inches larger than the pie pan.


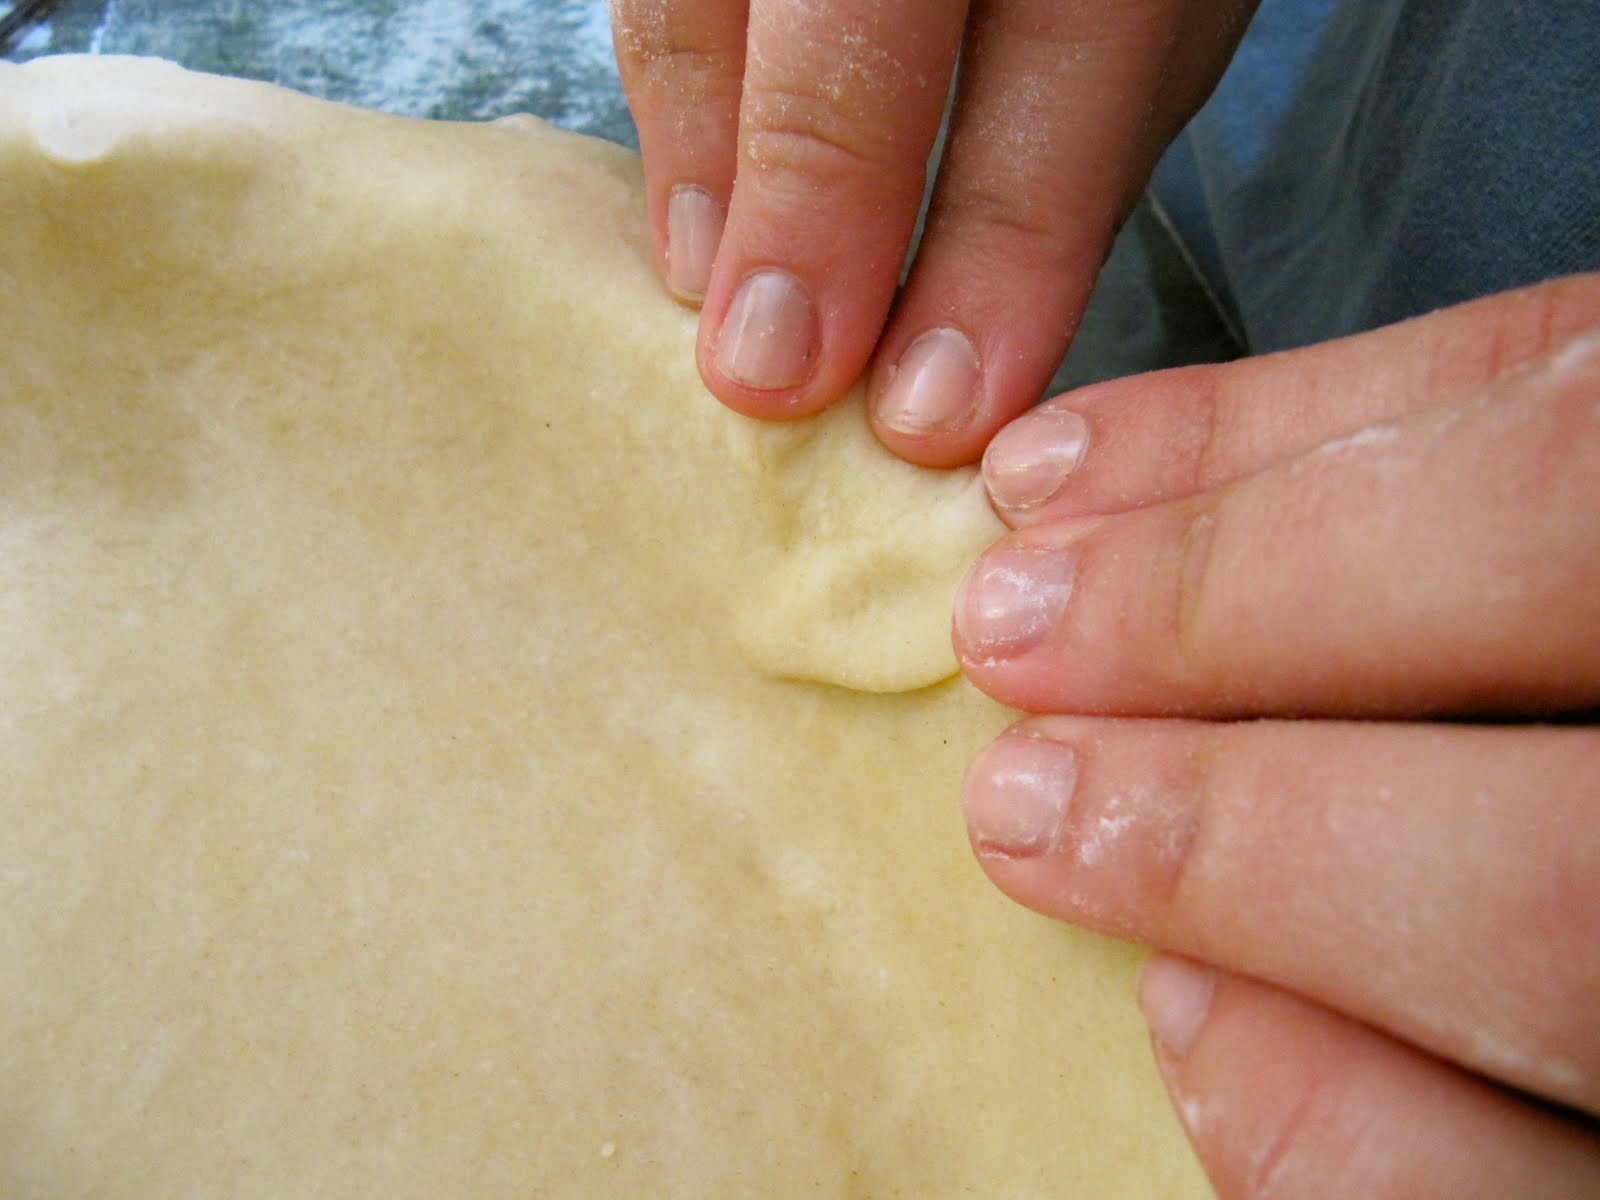
4. Fold the Dough in half and gently place onto the pie pan. Unfold the dough and press the dough firmly into the pan.

5. Trim the excess off the edges and leaving 3/4 of an inch of dough on the sides. Finish by folding the excess dough under the edge of the crust and pinch firmly with fingers to finish the edge (you may also use a fork if you prefer).


Directions for Filling: 

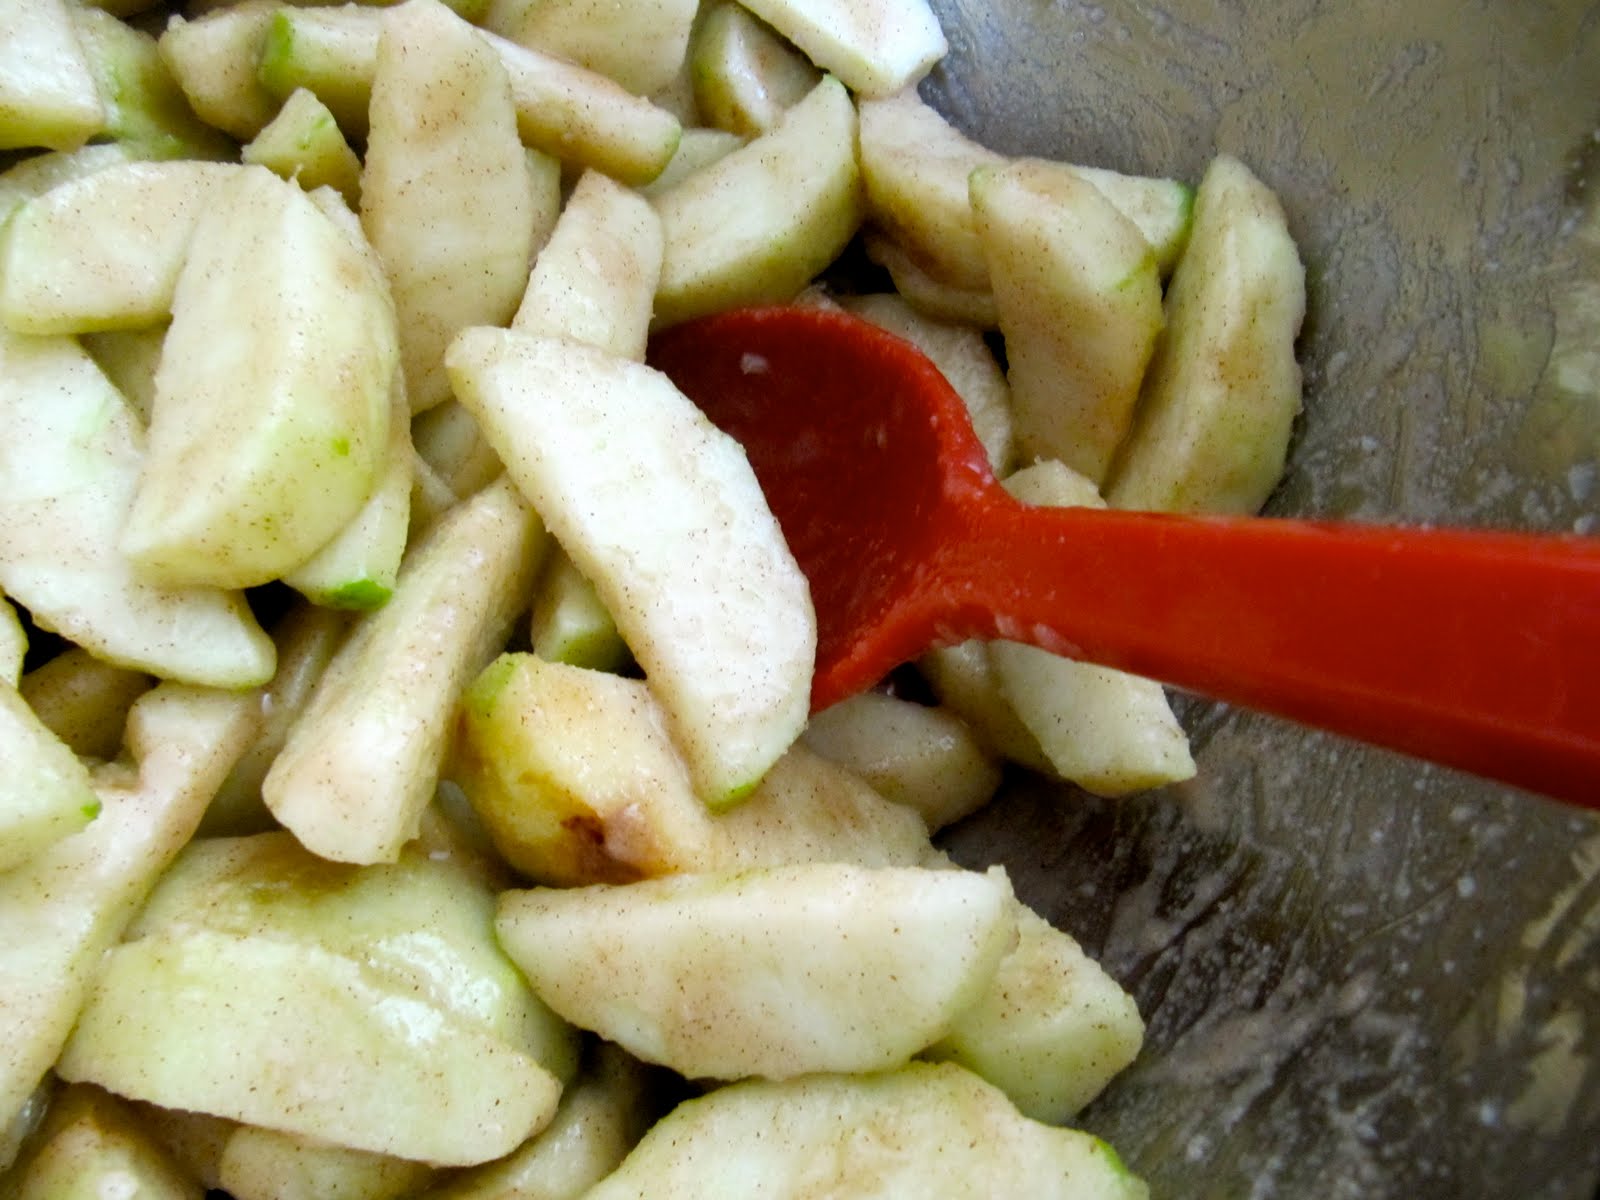
1. *Peel and slice your apples.


2. Place apples, sugar, flour, cinnamon and lemon juice in a large bowl and stir until sugar is evenly distributed.


3. Poor the apples into the pie crust and evenly spread them throughout the pie. Pack them down.


4. Cut the 2 tablespoons of butter and into about 8 pieces and place over the apples.

Directions for the Topping:

1. Place all topping ingredients in a bowl and mix until crumbly using your fingers or a fork.


2. Distribute topping evenly over apples.


3. Place pie on a rack in the oven with a baking sheet below it (to catch any drippings) and bake for 50-60 minutes... or until topping looks like this:


ENJOY!

Recipe Recap:
A- How much did it cost? Less than $20
B- Level of difficulty? Intermediate
C- How long did it take? 45 minutes to make,1 hour to bake, 20 to cool, 5 to serve
D- Pros: AMAZING! The ingredient are something you are likely have on hand, everyone loves!
E- Cons: This particular apple pie tends to be a little watery, lots of peeling
F- Would you make them again? YES!

*Hint- Use Green Apples... red ones get mushy!

Tuesday, August 10, 2010

Brownie Points


Literally, the best brownies you'll ever eat. These changed the way we will look at brownies forever. AND they are SO simple!


Ingredients:

1 box of Brownie mix
2 eggs
1/2 a cup of vegetable oil
1 1/2 Cups chocolate chips
1/2 cup of your favorite ice cream (make it a plentiful 1/2 cup)
1/4 Cup hot fudge topping (chilled)


Directions:
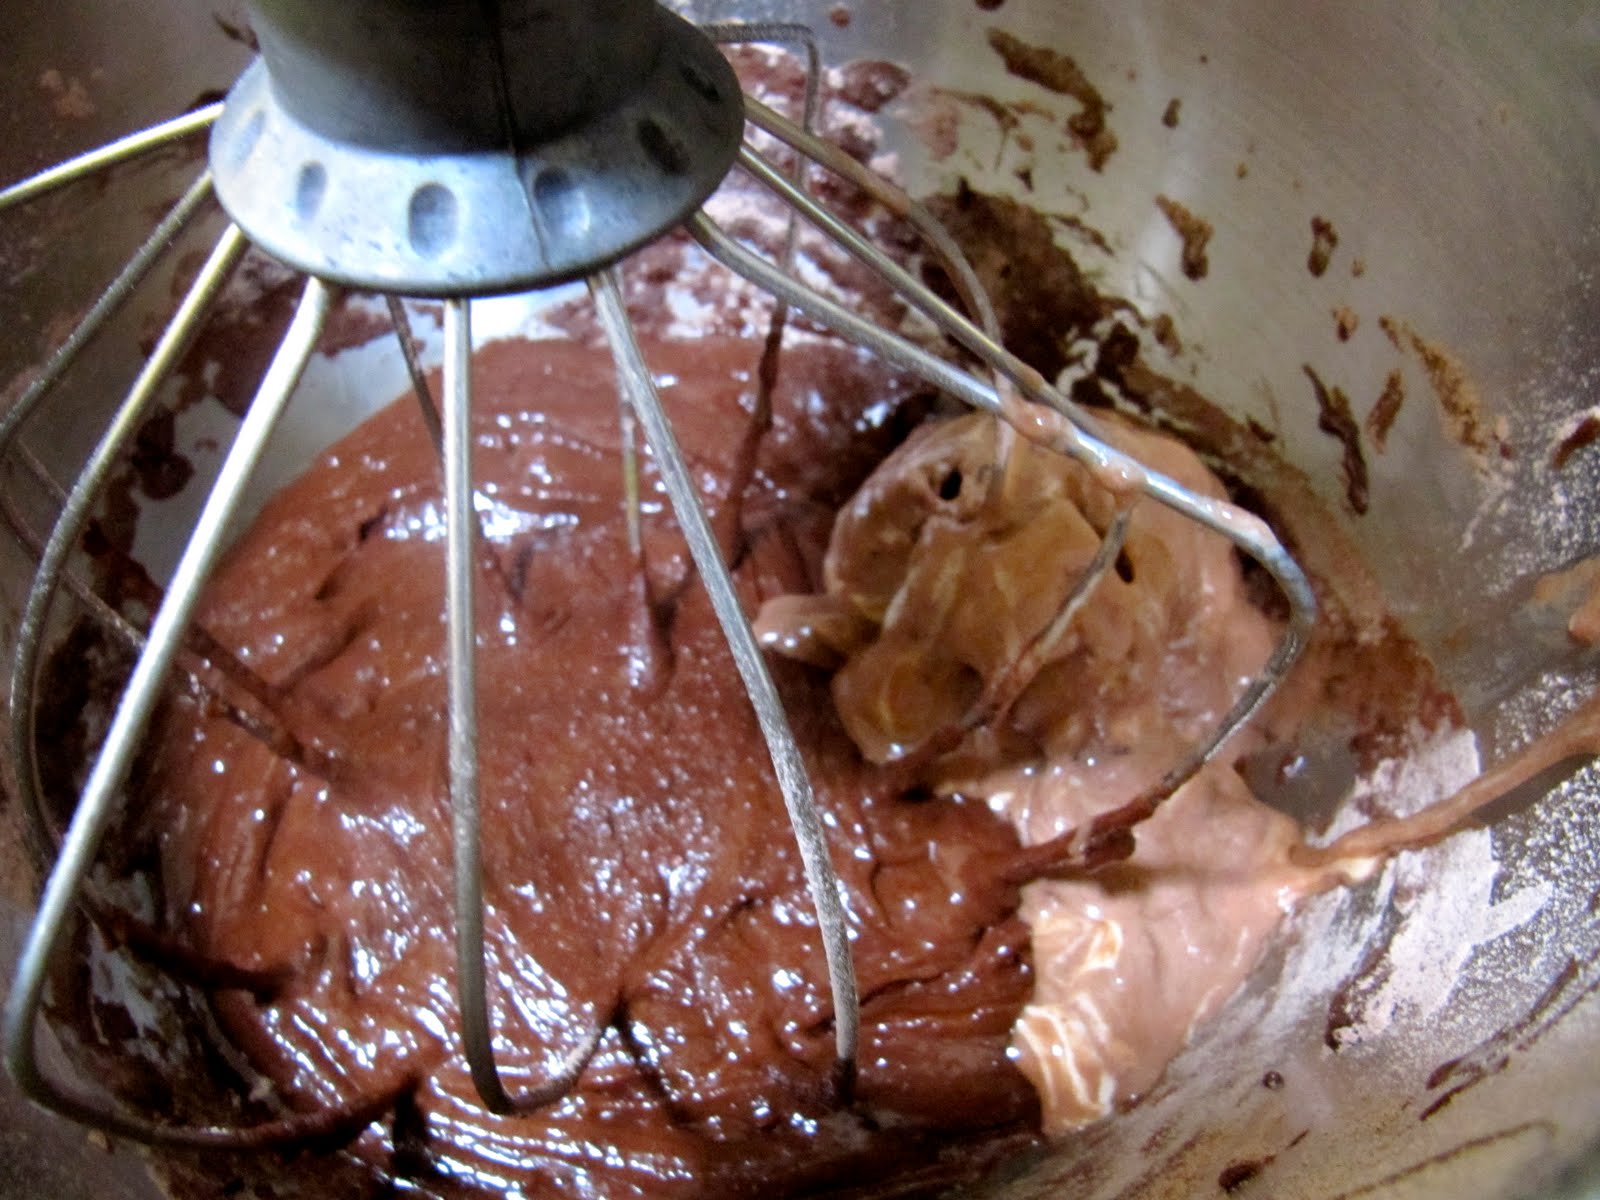
1- Preheat oven to 350 degrees. In a large bowl mix the brownie mix, 2 eggs and oil until combined…and thick. We did NOT add the water. Add ice cream, chocolate chips and hot fudge (chilled).. Mix until its combined


2. Pour into a 9×13 inch baking dish that’s been GENEROUSLY sprayed with cooking spray. Bake for 40-50 minutes or until toothpick comes clean from center.

3.  Let cool completely. Cut into squares and serve.


Recipe Recap:
A- How much did it cost? Less than $15
B- Level of difficulty? Beginner
C- How long did it take? 15 minutes to make, 40 minutes to bake, 20 to cool, 5 to serve
D- Pros: Tasty! Texture was good, easy to throw together, the ingredient are something most have on hand
E- Cons: None
F- Would you make them again? YES!


Friday, August 6, 2010

Almond Butter Cream


My little brother wanted to make cupcakes last night and wanted White Cake from the box - fine by me! So I thought they needed something to give them a little kick. I have been wanting to try flavoring our signature buttercream recipe (used here with our Strawberry Cake). The essentials are all the same:


3 cups confectioners' sugar
1 cup butter, softened
1 to 2 tbsp. whipping cream

However, instead of using 1-2 tsp. vanilla extract, I used about 1 1/2 tsp. almond extract AND 1/8 tsp. vanilla extract.

It really turned out nicely. I am a huge fan of almond so, naturally, I liked them... The vanilla helps to balance the flavor. I'm sure you can substitute other flavors to your liking! If you do, let us know! I think we'll try lemon next time :)

PS- Sorry no pics... I'm so upset over it too because we used Toy Story 3 toppings!


Monday, July 19, 2010

Chocolate Dipped Shortbread Cookies = A Hot Mess


At first, this recipe looked cute, fun and simple. However, as the our cooking progressed things began to go downhill quickly.

1. Due to unexpected weather conditions, the power went out.

2. Being the pioneer women we are, we decided to go old fashion and use the gas stove to make the melted chocolate... FAIL. We burnt the chocolate.

3.  The delicacy of the Shortbread cookies persisted a problem as we didn't realize our own strength as we continuously broke the cookies while trying to cover with chocolate. This resulted in a numerous amount of half-broken and crumbly cookies.

Despite our fails, the cookies turned out delightful! They were the melt-in-you-mouth kind of shortbread with just the right amount of chocolaty sweetness... Heres how...

Shortbread:

- 1 cup of butter
- 1/2 cup confectioners sugar
- 2 teaspoon vanilla
- 2 1/2 cup cake flour

1- Place the butter and sugar in a large bowl. Mix with electric mixer on low until combine.


2- Add vanilla and mix until fluffy


3- Add the flour and mix until completely incorporated


You are now finished mixing the batter. Place a large sheet of plastic wrap on a flat surface (We used a cookie sheet). Spoon the dough down the center of the plastic then fold the plastic over the dough and shape into a long rectangle. Seal plastic wrap tightly and refrigerate for at least two hours.


Preheat oven to 350. Remove the dough from the refrigerator and remove the plastic wrap. Cut the dough into 1/4 inch thick slices and place about half an inch apart on an buttered baking sheet. Bake for about 18 minutes or until edges are golden brown. Remove cookies from the pan and let cool on parchment paper.


Chocolate:

- 1 cup of chocolate chips
- 1 cup of sprinkles (or any crushed treat of your choice)

1- Place chocolate chips in a small microwavable bowl and melt on high for 1 minute. Stir and if the chips are not yet melted, place back into microwave for 18 seconds. Stir after each time until chocolate is completely melted. Be careful not to let the chocolate burn or it will become gritty (Don't try it on your oven either).

2- Line two baking sheets with parchment paper. Dip one end of each cookie into the melted chocolate. Scrape the excess chocolate from the cookie. Immediately dip the chocolate part of the cookie into the sprinkles. Lay the cookie on the baking sheets and let sit for at least 10 minutes.


3- We made a TOTAL mess when we did this last part- But it was totally fun and delicious. Enjoy!


Recipe Recap:
A- How much did it cost? Less than $10
B- Level of difficulty? Beginner
C- How long did it take? 15 minutes to make, 2 hours to refrigerate, 18 minutes to bake, 10 to cool, 10 to serve
D- Pros: Tasty! Texture was good, easy to throw together, the ingredient are something most have on hand
E- Cons: Cookies were a little crumbly 
F- Would you make them again? YES!